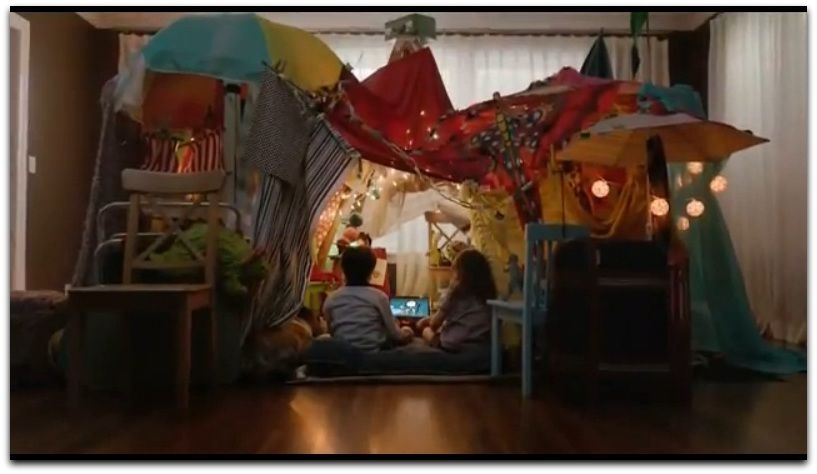
When it’s hot or rainy outside, it’s a great idea to build a blanket fort with your kids. Having a group of friends or staying the night inside is even more fun.
When it comes to making a blanket fort, there are many options, but the simplest is to drape a large sheet over a kitchen or dining table. Add more space by rearranging the chairs so that their backs face the table and then drape a sheet over the chairs.
Hang a sheet under the top mattress of the bunk bed and cover the lower bed with it. A towel or small blanket draped over the foot of the bed creates a cozy fort. In order to go beyond the basics, you’ll need to step up your game. Not cardboard boxes, either.
Supplies:
- Blankets, sheets, or quilts—and for added versatility, include a couple of fitted sheets
- Pillows
- Chairs
- Tables, a sofa, or a bed—something as a main anchor
- Clothespins or tape
Prep work and safety
To begin construction on how to build a fort, you’ll need to gather all of the necessary materials. Look for a large area near a large piece of furniture, such as a couch or a bed, that you can use as a primary anchor. Once the kids have moved on to something else, you’ll need to remove any valuable or breakable items from the fort.
Small tables and other pieces of furniture that could fall on the children while they are playing should also be avoided.
Building an awesome blanket fort

Step 1. The anchor piece of furniture, such as a sofa back or tabletop, should be covered with a large sheet. We play our piano at home.
Tip: Use a fitted sheet to secure the anchor to the sofa’s back for extra stability.
Step 2. Using a sheet, drape it over other pieces of furnishing and spread it out on the floor. The fort can be expanded by using additional sheets and blankets. While it isn’t recommended that heavy objects or books be used to anchor down corners and sides of the sheets, it is possible to secure the sheets in place with clothespins or tape (you can also anchor the corners and sides with heavy objects, but it isn’t advised, since they could be pulled down on the kids as they play).
Step 3. The middle of the sheet should be supported by a chair or some other tall object. Use a tripod, a bar stool, or another sofa to support the camera setup. Use lamps and other items that are difficult to keep in place. The easiest way to raise the bed sheet’s height is to add another chair or support where needed.
Only for the most advanced builders: Suspend string from ceiling-mounted 3M hooks, then use clothespins or potato chip clips to hold the end of the string in place. To create a floating ceiling, attach a blanket or sheet to the clips.
Step 4.
To fill in the gaps after the roof is up, use extra blankets or pillows. Make the most of any voids by using them as another door or window.
Step 5.
The front door needs to be built. The main door is essential to any fort. Use a pillow or a cardboard box as a tunnel entrance if you want to go all out.
Step 6.
Make sure it has everything it needs. Your kids can bring their favorite stuffed animals, sleeping bags, headlamps, flashlights, puzzles, and other fun things to keep them occupied while you relax with a movie on the big screen and some cold beer and pretzels (oh wait, those are mine). You get the idea.
Step 7.
Sit back and take in what you’ve accomplished. Time to play!
Final tip: build a fort with your children. Allow them to direct the game.


